

Create, Organize, and Play Campaigns for Pen and Paper RPGs
Atlas, Lore Book, and Battle Map all in one.
How It Works
Atlas
With INFINITASDM, each campaign file acts as a whole-world atlas, containing all of the campaign's maps and documents. In fact, the map browser is its self the central hub used to organize campaigns and access maps, this browser is aptly titled The Atlas.
The Atlas is tiered into 3 primary, nesting categories: Worlds, Regions, and Locations.
Each tier acts as a container for lower tiers. Each World can consist of a set of Region maps, which can then consist of a set of Location maps.
Of these 3 panels, 2 are visible at any time. By default, a campaign will start with Worlds and Regions displayed. When a Region is selected, it will move to display Regions and Locations.
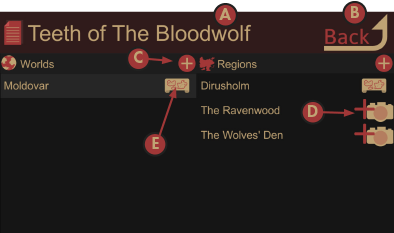
A. The currently loaded campaign file.
B. The ‘Back’ Button
Return from a deeper panel on the 2 Panel Map Browser tree, or return to the Main Menu if at the top (World) map tree level.
C. Add a new map
Adding a map to the World panel will add a new world map. To add a map to the Region panel, a World must be selected that the Region will be nested under. The same is true for a Location, which must have a Region selected, which the Location will then be nested under.
D. Assign Map Image
Create or Assign a map image to an existing map entry.
E. Load Map
Load and enter Map View for the selected map.
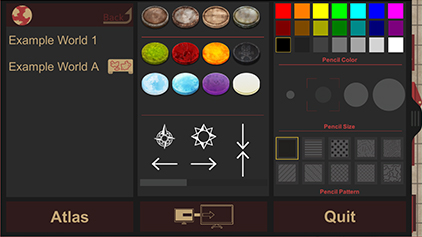
Map images can be assigned one of 3 ways. Capturing an image with the device's camera (this is supported on both desktop and mobile platforms), adding an existing image from common image file types (jpg, png, etc), or creating a new map within the app.
Lore Book
What is a world without lore to fill it? Once a map has been created it can be filled with the documents that give it life. Documents are nested under the maps they are created in, giving instant organization and ease of access while in-game.
All of this is done from the Map View within the Documents Tab. These documents can then be linked directly from the map using Map Links. Additionally, other maps can be linked using Map Links as well.
The Documents Tab is the container and viewer for all of the documents tied to each map. From here documents can be created and viewed.
The Documents Tab provides two services:
Document Tree
A list of the current map’s documents, as well as allowing navigation to the documents of other maps.
Document Viewer
Used to display individual documents.
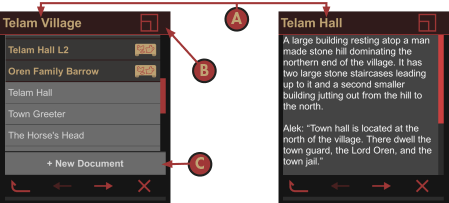
A. The current Map (Left) / Document (Right).
B. Min/Max Button
Both the Documents Tree and Document Viewer can be maximized (or returned to a tab) by clicking or pressing on the this icon in the top right corner of the tab.
C. +New Document
This button will create a new document, which can then be edited, viewed, and assigned to a Map Link by clicking or pressing on the this icon in the top right corner of the tab.
D. Up A Level
This is a global “back” button within the Documents Tab. Starting from a Document the tab will travel in the following order: [Location] Document > Maps of Same Region + Docs for Current Location > Maps of same World + Docs for Current Region > World Maps.
E. Next / Last Arrows
While viewing a Document, these arrows will cycle between all other documents for the current map. While viewing the Document Tree they will cycle between all maps of the same tier (World, Region, Location).
E. Exit
This will close the documents tab.
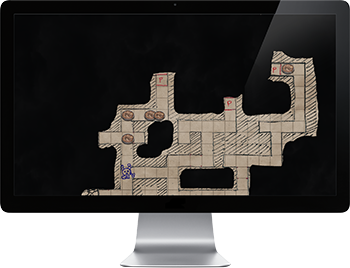
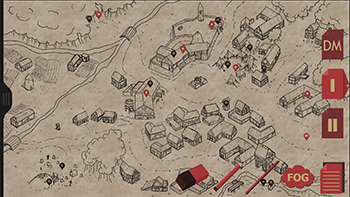
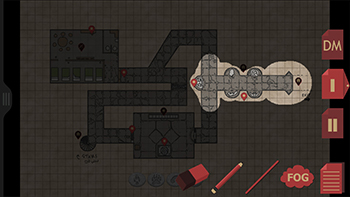
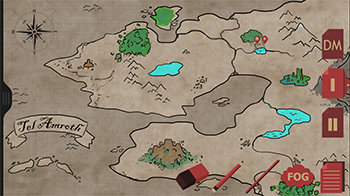
Battle Map
Now that your world has been carefully organized, charted out, and filled with lore it's time to explore it. The Map View's use goes beyond charting a path across a map image, including battle map tools like:
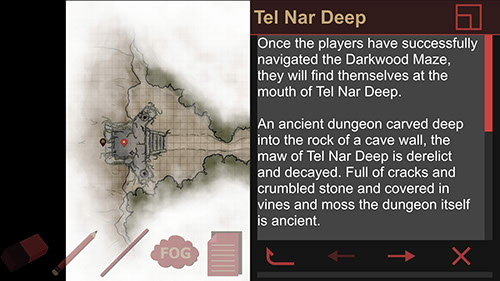
- Pencil and eraser functionality to draw directly onto the map (and easily hidden, displayed, or edited using 3 separate drawing layers)
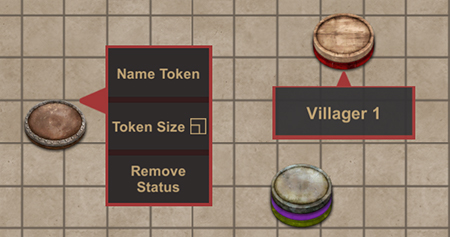
- Character Tokens with stackable status tokens to mark monster and player action digitally on the map
- Stamps that can be added to the map to quickly add detail and visual queues
- Fog of War to allow more organic exploration of world maps, dungeons, and other Map View spaces.
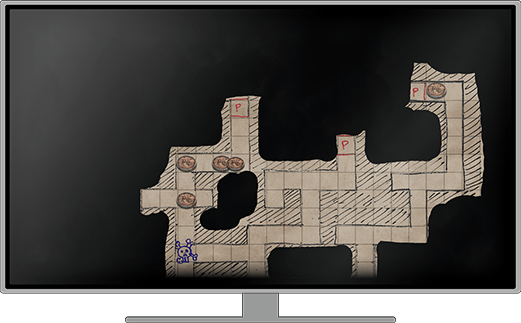
Virtual Table Top
You've got a world, it's primed and ready for exploration, conquest, diplomacy, stealth, and adventure. Now it's time to bring it to your players. When viewing any map, the DM/GM's Map View can be extended/cast to a secondary display serving as the Player's View.
The Player’s View is a second-screen view that is cast from the app to a secondary display, allowing the players to follow along while the DM/GM controls the action from their computer, phone, or tablet.
Player's View On Desktop
Activating the Player’s View on Windows and MacOS platforms will automatically switch the app to full-screen mode (a requirement and current limitation of Unity3D) and send out the Player’s View to any currently connected secondary display. This could include, but is not limited to, any additional monitor, television, projector, or other passive display that you can connect to your computer or laptop.
For MacOS devices, this also supports sending that secondary display to an AirPlay connected display.
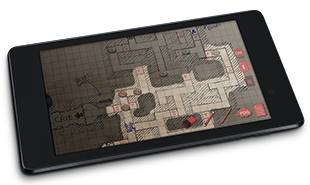
Player's View On Mobile
For Android and iOS, the Player’s View is cast out using GoogleCast. This means you can easily send out the player’s view to any display you can connect a ChromeCast device to.
Pressing the Cast button from within the DM Drawer will bring up a dialog to select your desired Chromecast device. Simply select your device from the list and the Player’s View will be cast to the display it is connected to.
For a more in-depth view on the App and how all of its features function, check out the full Instruction Manual available from the Downloads Page.
INFINITASDM, 2016 Atom Switch, Inc.